I recently challenged myself to build the world’s cheapest macropad with the RPI Pico and QMK. I successfully achieved it. But it had its own downsides.
The components I used include:
| Parts | Qty |
| Raspberry Pi Pico-H | 1 |
| 1N4007 diodes | 6 |
| 1.2*1.2 mm push switches | 6 |
| 3D Printed enclosure, parts | 3 |
| M3 Screws, brass inserts | 3 |
| USB cable | 1 |
The circuit is rather simple. (21,22,27 clmns 19,18 rows) Connect the switches with a diode to each switch similar to other builds. Then connect the rows and columns like given below.
| Row/column | pin (as on pi) |
| c1 | 21 |
| c2 | 22 |
| c3 | 27 |
| r1 | 18 |
| r2 | 19 |
Finally print all of the files as given below and then flash the QMK firmware that can be downloaded for the pi below.
Firmware-Download the .uf2 file
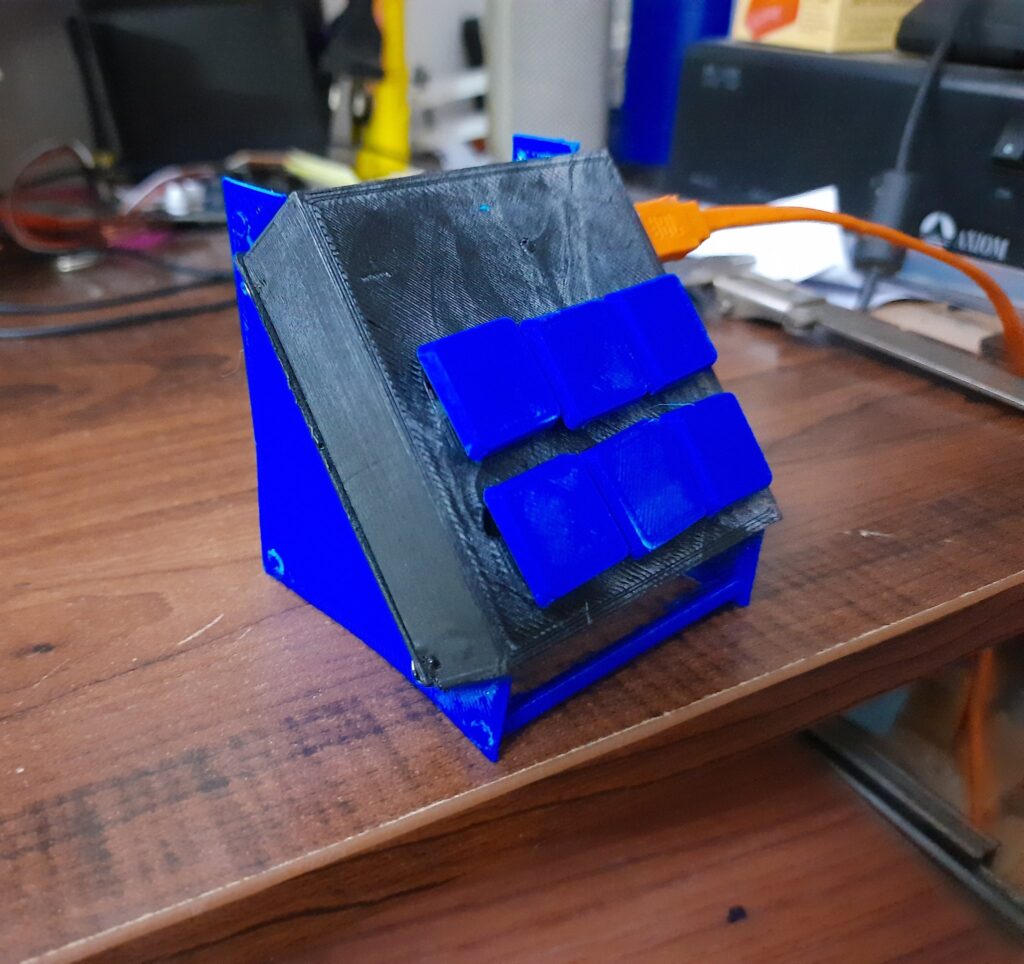
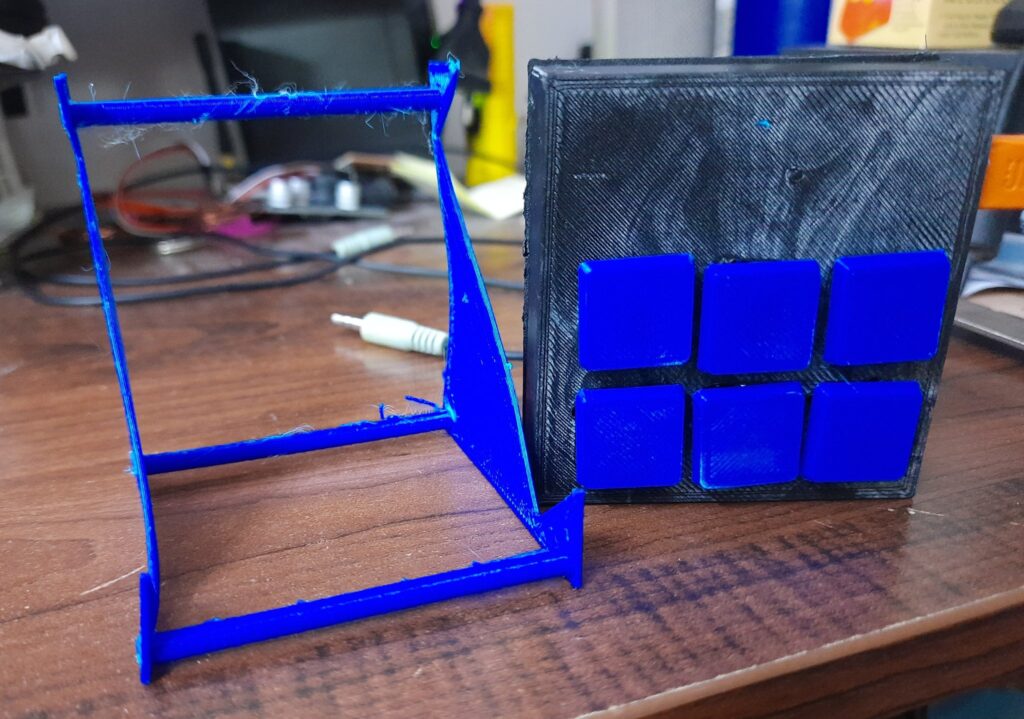
Some Pictures:
3D files:
Brought to you by http://esccrasci.in
Leave a Reply